
Website visitors are gone in a flash if your pages load too slowly. One extra second can slash conversions by up to 20 percent according to recent studies. Most people assume slow sites are only caused by poor hosting or outdated servers, but that’s not the real story. The biggest speed killers are often hiding right in plain sight and fixing them can be much simpler than you think.
Table of Contents
- Step 1: Assess Your Current Page Speed Metrics
- Step 2: Identify and Optimize Large Media Files
- Step 3: Minify Css, Javascript, and Html Files
- Step 4: Implement Browser Caching Techniques
- Step 5: Test Page Speed Improvements and Monitor Performance
Quick Summary
| Key Point | Explanation |
|---|---|
| 1. Assess Baseline Metrics First | Use diagnostic tools like Google PageSpeed Insights to evaluate current website speed before making improvements. |
| 2. Optimize Large Media Files | Reduce file sizes of images and videos to significantly improve loading times using compression techniques. |
| 3. Minify CSS, JavaScript, and HTML | Strip unnecessary characters from your code to minimize file sizes and enhance loading speed effectively. |
| 4. Implement Browser Caching | Configure cache-control headers for static assets to accelerate load times for returning users by storing resources locally. |
| 5. Continuously Monitor Performance | Regularly test website speeds across devices and locations to track improvements and make adjustments as needed. |
Step 1: Assess Your Current Page Speed Metrics
Improving page speed requires a strategic approach that begins with understanding your current performance baseline. The initial step involves conducting a comprehensive assessment of your website’s speed metrics using reliable diagnostic tools. Performance measurement is critical because it provides concrete insights into areas requiring optimization.
Start by utilizing free and professional speed testing platforms like Google PageSpeed Insights and GTmetrix. These powerful tools offer detailed evaluations of your website’s loading performance across desktop and mobile platforms. When running these diagnostics, pay special attention to key performance indicators such as First Contentful Paint (FCP), Largest Contentful Paint (LCP), and Total Blocking Time (TBT).
Your assessment should include multiple perspectives. Run tests from different geographic locations to understand how your website performs globally. Some critical metrics to track include:
- Page load time
- Time to first byte
- First contentful paint
- Interactive readiness
- Overall performance score
Beyond automated tools, consider real-world user experience data. Google’s Chrome User Experience Report provides valuable insights into actual user interactions, revealing performance variations across different devices and network conditions. This approach goes beyond synthetic testing, offering a more nuanced understanding of your website’s speed performance.
To gain deeper technical insights, explore our guide on understanding technical SEO for comprehensive performance analysis strategies. Record your baseline metrics meticulously, as these will serve as your reference point for future optimization efforts. A thorough initial assessment sets the stage for targeted, effective page speed improvements.
Below is a comparison of popular tools and platforms mentioned in the guide to help you assess and optimize page speed. Each tool offers unique features for diagnosing or improving website performance.
| Tool/Platform | Purpose | Key Features |
|---|---|---|
| Google PageSpeed Insights | Assess page speed and diagnose issues | Mobile/desktop analysis, detailed performance metrics |
| GTmetrix | Analyze website speed and structure | Multiple test locations, waterfall analysis |
| Chrome DevTools | Inspect and audit site elements | Network tab for file size/media audit, per-request timings |
| TinyPNG/Squoosh | Compress image files | Automated image compression, reduces file size |
| Autoptimize/W3 Total Cache | Minify and cache code, optimize delivery | Automatic minification, caching options for WordPress |
| WebPageTest | Run performance tests from global locations | Multi-step tests, device and location selection |
| W3 Total Cache/WP Super Cache | Implement browser caching for WordPress sites | Cache-control headers, simplifies caching configuration |
Step 2: Identify and Optimize Large Media Files
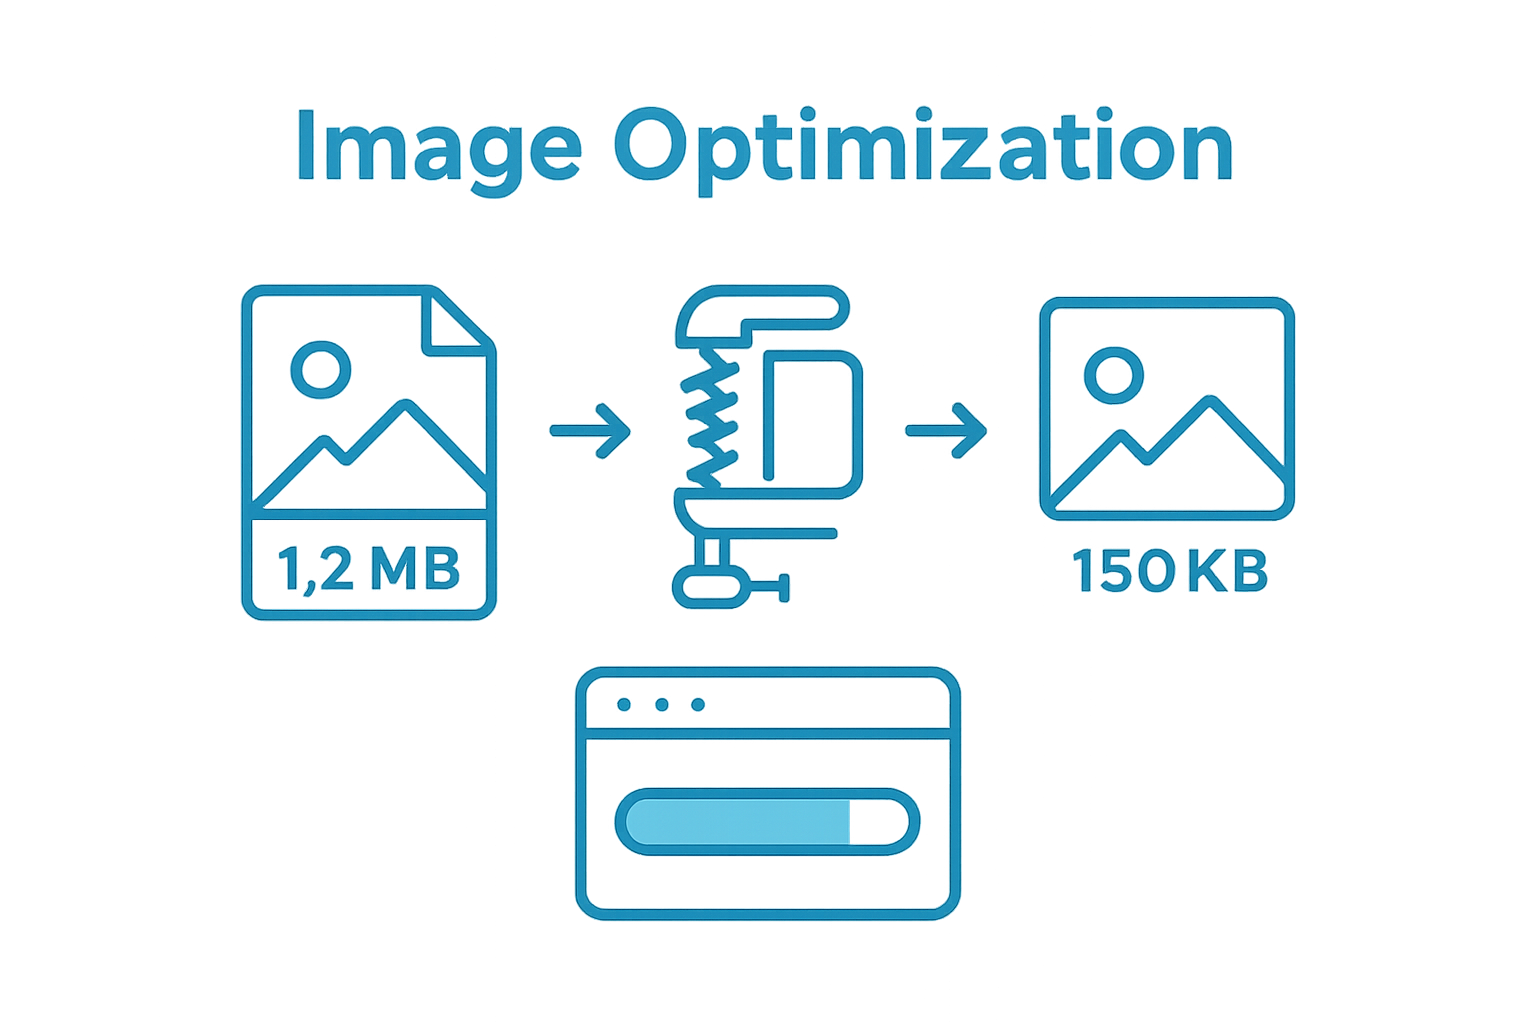
Large media files are often the most significant culprits behind slow website performance. Images, videos, and graphics can dramatically increase page load times if not properly managed and optimized. In this critical step, you will systematically review and reduce the file sizes that impact your website’s speed.
Begin by conducting a comprehensive media audit using browser developer tools and performance analysis platforms. Chrome DevTools provides an excellent “Network” tab that allows you to filter and examine media file sizes. Look for image and video files exceeding 200 kilobytes, which are prime candidates for optimization.
 Research from Mozilla Developer Network indicates that media typically represents over 70% of downloaded bytes on average websites.
Optimization strategies vary depending on file type. For images, leverage modern compression techniques and formats. Convert traditional PNG and JPEG files to more efficient formats like WebP, which offers superior compression without significant quality loss. Tools such as TinyPNG, ImageOptim, and Squoosh can automatically reduce file sizes while maintaining visual integrity. Implement responsive image techniques that serve appropriately sized images based on device screen dimensions.
Key optimization strategies include:
- Use next-generation image formats (WebP, AVIF)
- Implement lazy loading for images and videos
- Remove redundant or decorative media files
- Compress all media before uploading
For video content, consider alternative hosting platforms like YouTube or Vimeo, which provide optimized embedded players that reduce direct server load. These platforms automatically handle compression and adaptive streaming, significantly improving page performance. When embedding external videos, use lightweight embed codes and enable lazy loading to prevent unnecessary resource consumption.
Finalize your optimization by re-running performance tests to confirm improvements. Explore our technical SEO guide for additional insights into media optimization techniques. Remember, every kilobyte saved contributes to faster page load times and enhanced user experience.
This checklist summarizes key verification steps for optimizing large media files and ensuring effective implementation. Use it to track your progress as you enhance page loading speed.
| Optimization Step | Completion Status | Notes/Tools Suggested |
|---|---|---|
| Audit images and videos over 200 KB | Chrome DevTools, GTmetrix | |
| Convert images to next-gen formats (WebP, AVIF) | Squoosh, TinyPNG | |
| Implement lazy loading for media | Native HTML loading=lazy | |
| Remove unnecessary or redundant media files | Manual review | |
| Compress all images and videos before uploading | ImageOptim, TinyPNG | |
| Host videos externally when possible | YouTube, Vimeo | |
| Confirm improvements with performance tests | Google PageSpeed Insights |
Step 3: Minify CSS, JavaScript, and HTML Files
Minification represents a crucial optimization technique that strips unnecessary characters from your website’s code without altering its functionality. By removing whitespace, comments, and redundant formatting, you can significantly reduce file sizes and improve page loading speed. This process transforms developer-friendly code into lean, efficient scripts that browsers can process more quickly.
Google Web Fundamentals emphasizes the importance of minimizing code overhead. Start by utilizing professional minification tools like UglifyJS for JavaScript, CSSO for CSS, and HTMLMinifier for HTML. These tools automatically remove unnecessary characters while preserving the core functionality of your code. Most modern web development frameworks and build tools include built-in minification capabilities, making the process straightforward for developers.
Implement a systematic approach to minification across your entire web project. For WordPress sites, plugins like Autoptimize or W3 Total Cache can handle this automatically. If you are using custom development environments, integrate minification directly into your build process. This ensures that every production deployment includes optimized, compressed code. Pay special attention to third-party scripts and plugins, as they often introduce additional overhead that can be trimmed.
Key minification strategies include:
- Use automated minification tools
- Remove unnecessary comments and formatting
- Combine multiple CSS and JavaScript files
- Enable server-side compression
- Implement content delivery networks (CDNs)
Verify your minification efforts by running performance tests after implementation. Tools like Google PageSpeed Insights will provide immediate feedback on code efficiency. Learn more about technical SEO optimization to further refine your website’s performance. Remember, each kilobyte removed contributes to faster load times and improved user experience.
Step 4: Implement Browser Caching Techniques
Browser caching acts as a powerful performance optimization strategy that allows websites to store static resources locally on users’ devices. By intelligently managing cached content, you can dramatically reduce server load and accelerate page loading times for returning visitors. This technique essentially creates a local storage system where frequently accessed website elements are saved, eliminating the need to download them repeatedly.
Mozilla Developer Network highlights the critical role of HTTP caching headers in managing this process. Begin by configuring your web server to set appropriate cache-control headers for different types of static assets. Static resources like images, CSS files, and JavaScript libraries should have longer cache expiration times, typically ranging from a few days to a year. For dynamic content that changes frequently, implement shorter cache periods to ensure users receive the most updated information.
Web administrators can implement caching through various methods depending on their hosting environment. For Apache servers, utilize .htaccess configuration files to define caching rules. Nginx users can modify server configuration files directly. WordPress sites can leverage caching plugins like W3 Total Cache or WP Super Cache, which simplify the technical implementation of browser caching strategies. Cloud platforms like Google Cloud and AWS offer built-in caching mechanisms that can be easily configured through their management consoles.
Key caching implementation strategies include:
- Set appropriate ‘Cache-Control’ headers
- Use ‘ETag’ for efficient resource validation
- Implement versioning for static assets
- Configure different cache durations for various file types
- Utilize content delivery networks (CDNs)
After implementing caching techniques, validate your configuration using performance testing tools like Google PageSpeed Insights and explore our technical SEO guide for advanced optimization strategies. Remember that effective caching creates a smoother, faster browsing experience by reducing unnecessary data transfers and server requests.
Step 5: Test Page Speed Improvements and Monitor Performance
Performance testing is the critical final stage of your page speed optimization journey, transforming theoretical improvements into measurable results. After implementing previous optimization strategies, you must systematically validate and track your website’s performance to ensure genuine enhancements and identify potential future refinements.
Research from the Journal of Systems and Software emphasizes the necessity of continuous performance monitoring. Begin by utilizing comprehensive testing platforms like Google PageSpeed Insights, GTmetrix, and WebPageTest. These tools provide detailed performance metrics across multiple dimensions, including mobile and desktop experiences. Run multiple tests at different times and from various geographic locations to obtain a holistic performance assessment.
Establish a consistent monitoring routine that goes beyond initial testing. Create a performance tracking spreadsheet to record key metrics such as load time, first contentful paint, time to interactive, and overall performance scores. Compare these metrics against your baseline measurements from the initial assessment. Pay special attention to performance variations across different devices and network conditions. Some performance testing platforms offer historical tracking, allowing you to visualize improvements over time.
Key performance testing strategies include:
- Use multiple testing platforms
- Test from different geographic locations
- Compare mobile and desktop performance
- Monitor performance consistently
- Track historical performance data
To maintain ongoing optimization, learn more about monitoring SEO performance and integrate performance tracking into your regular website maintenance routine. Remember that page speed optimization is an iterative process. Continuously analyze results, experiment with new techniques, and remain adaptable to emerging web performance standards. Your commitment to regular testing and refinement will ensure a consistently fast, user-friendly website.
Unlock Fast SEO Wins With RankAligner
You have seen how crucial page speed is for outstanding user experience. Slow load times, heavy media files, and unoptimized scripts do more than frustrate visitors. They quietly erode your search rankings and make you vulnerable to overlooked technical issues. The article highlights that even when you fix one performance issue, hidden problems like keyword cannibalization can still block you from real SEO gains.
Stop letting slow performance and silent technical errors hold your site back. Discover how the #1 Keyword Cannibalization Tool helps consultants and agencies take full control of both site structure and technical health. Ready to make every second and every keyword count? Visit RankAligner today or learn more about technical SEO optimization to start boosting your website’s speed and search authority now.
Frequently Asked Questions
How can I assess my website’s current page speed?
To assess your website’s current page speed, use diagnostic tools like Google PageSpeed Insights and GTmetrix. These platforms provide important metrics such as First Contentful Paint (FCP) and Largest Contentful Paint (LCP) to help you understand your performance baseline.
What strategies can I use to optimize large media files on my website?
To optimize large media files, consider using next-generation formats like WebP for images and implementing lazy loading. Tools like TinyPNG or Squoosh can help compress files without sacrificing quality, ensuring faster load times.
Why is minifying code important for page speed?
Minifying CSS, JavaScript, and HTML files is crucial as it removes unnecessary characters, which reduces file sizes and speeds up loading times. This process makes your website’s code leaner and more efficient for browsers to process.
How can I implement browser caching to improve page speed?
You can implement browser caching by setting appropriate cache-control headers for static resources on your web server. This allows browsers to store these resources locally, reducing server load and improving load times for returning visitors.
Recommended
- Understanding Technical SEO for Beginners Made Simple – Rank Aligner – Your Ultimate Keyword Cannibalization Problem Solver
- Landing Page Optimization Tips for 2025: Strategies That Convert
- SEO Tips for Ecommerce: Proven Strategies for 2025
- Understanding Personalization and SEO for Better Engagement – Rank Aligner – Your Ultimate Keyword Cannibalization Problem Solver